Manage Cyral administrator roles
You can grant permissions to Cyral administrators by assigning them to roles. By default, the roles Super Admin, Admin, and User are available and have privileges as shown below.
Create and manage administrator roles for Cyral control plane users
- Click Account users in the left navigation bar.
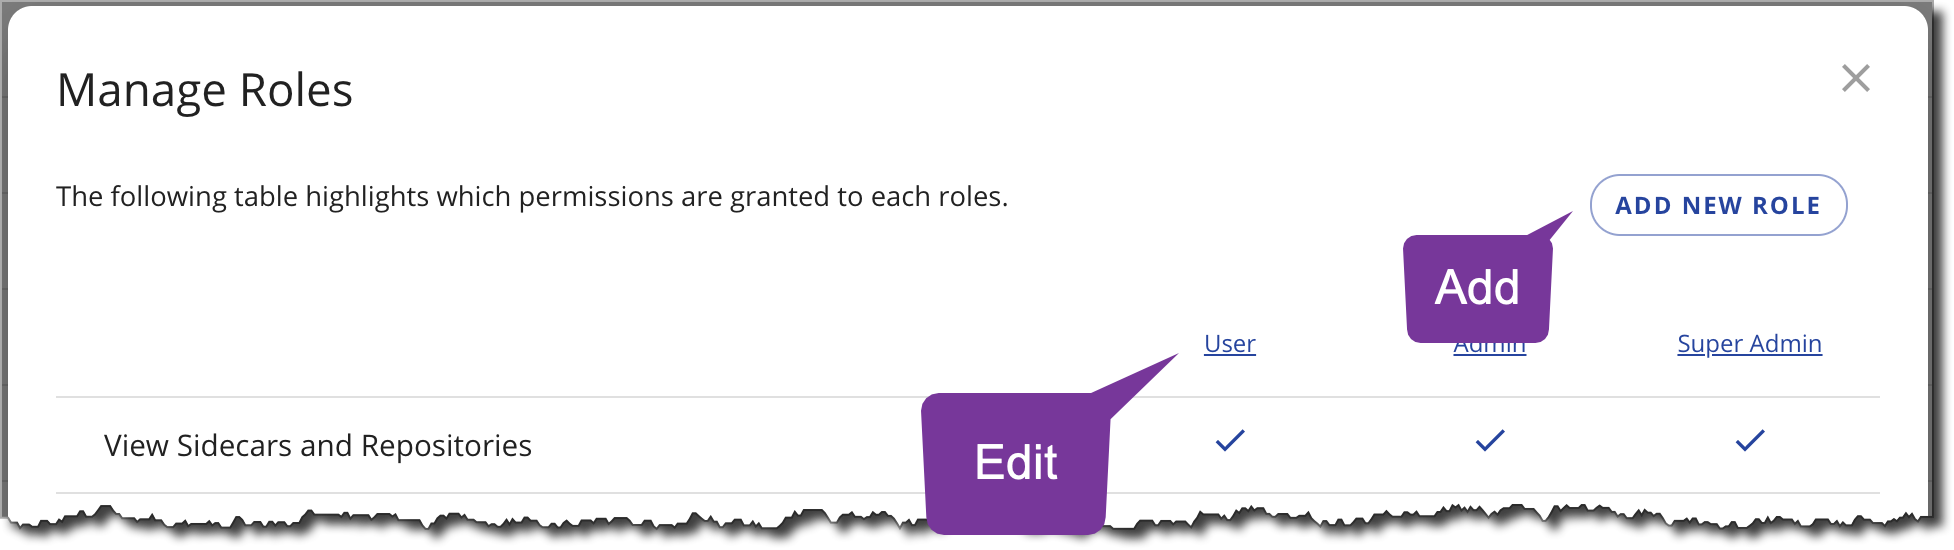
- Click Manage Roles.
- To add a role, click Add new role, or to edit a role, click the role's name in the table.
Map an SSO group to a Cyral administrator role
You can map SSO groups to Cyral administrator roles, so users are automatically assigned a role and granted corresponding privileges based on their SSO group membership. Follow the below steps in order to do so.
Note that these mappings apply to Cyral administrators who access the management console, not data users. For data users, see Map an SSO user or group to a local account.
- Click Account users in the left navigation bar.
- Click Manage Roles.
- Add or edit the role:
- To use an existing role, click the role's name in the table.
- To add and use a new role, click Add new role and give the new role a Role Name in the next window.
- In the Permissions section, set the rights this type of administrator will have.
Choose one or more from:
- Approval Management: Create and manage users' repository access requests. This permission grants the ability to submit an access request as well as the ability to approve, deny, or revoke an access request.
- Modify Integrations: Add and remove Cyral system integrations, such as a logging or messaging integration.
- Modify Policies: Add, edit, and view access policies and Data Maps.
- Modify Roles: Add, edit, and view users' roles in Cyral.
- Modify Sidecars and Repositories: Add, edit, and view Cyral sidecars and associate them with data repositories.
- Modify Users: Add, edit, and view user accounts in Cyral.
- Repo Crawler: Run periodic scans of repositories to check for data fields to be protected.
- View Audit Logs: Read logs of activity in Cyral.
- View Datamaps: View the data field mappings used in Cyral policies.
- View Integrations: View Cyral system integrations, such as a logging or messaging integration.
- View Policies: View access policies and Data Maps.
- View Roles: View users' roles in Cyral.
- View Users: view user accounts in Cyral.
- Click Add new mapping.
- In the Map SSO groups to this role field, choose the identity provider integration you use to authenticate users in this role. (If you don't have one, set up SSO now.)
- In the SSO Group Name field, specify the SSO group name
as it's written in your identity service:
- For Okta, use the group name as defined in Okta.
- For Azure AD, use the Object ID of the group, which you'll find in the Groups panel of your Azure management console.
- Click the check mark to save the mapping.
- Map other SSO groups as needed.
- Click Save.
tip
Users belonging to multiple SSO groups and are therefore mapped to multiple Cyral administrator roles will have the most permissive role assigned to them.