Install a sidecar with Terraform
Provide AWS permissions for sidecar deployment
The user who deploys a Cyral sidecar using the Terraform template must have sufficient AWS permissions to allow the Cyral Terraform module to create IAM resources and EC2 resources. During deployment, the IAM role needed for the sidecar instances will be created automatically by the Terraform module and attached to EC2 instances.
caution
While you can opt to deploy the sidecar using an AWS account that has
more powerful administrator permissions, the more secure approach
(and often the only approach allowed by your IT team) is to grant
least privilege, which means deploying the sidecar with an account
that has the minimum needed permissions.
Below, in Cyral AWS sample policy elements for Terraform deployment, we list the required permissions, expressed in the AWS IAM JSON policy format. For details on this format, see the AWS policy elements reference.
To use the AWS policy elements we provide, follow these steps:
Create or edit your AWS IAM Policy, and paste the elements from one of the sample policies in the sample policy elements list. Use the simplified policy if you're comfortable with the set of actions it allows. Otherwise, use the granular policy.
Edit the policy, replacing
${ACCOUNT_NUMBER}with the account number of the AWS account where the user will deploy the sidecar, or with*.To choose between using an account number and using
*, consider how your AWS accounts are organized. A common guideline is to use your account number if your workloads run on multiple AWS accounts but rely on a single point for access control. In this case, by using the account number, you ensure that the user who deploys the sidecar only gains access to the account where the sidecar is deployed.Associate the finished policy (directly or using a group) with the user who will perform the sidecar deployment.
Deploy the sidecar
To add a sidecar using the Cyral management console:
Navigate to the Sidecar tab and select Create New Sidecar
Follow the instructions titled Deploying sidecar to AWS EC2 using Terraform.

note
In the Generate a file screen, when generating the sidecar Terraform template, please choose from the integrations you previously configured for log location and metrics location.
Click Generate template.
After you generate the template, you can edit it to make the customizations you need. These customizations may include:
Use the completed template to deploy the sidecar.
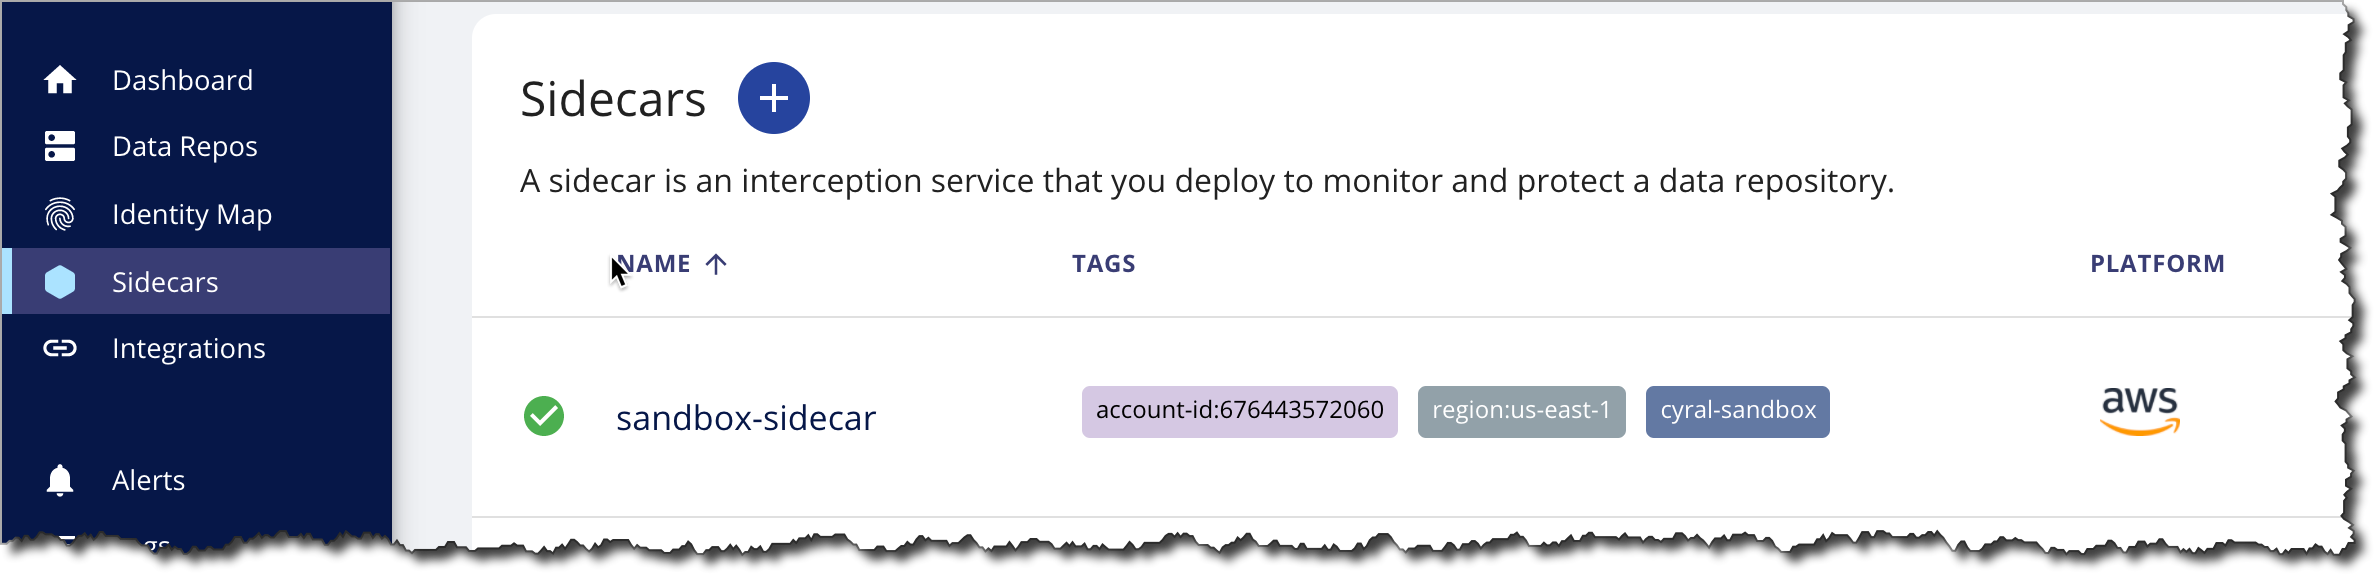
Once your sidecar has been deployed, the Cyral management console
lists it in the Sidecar tab. Here, we've created a sidecar
named sidecar01.
warning
In the template, the access key and registry key variables are assigned automatically by the Cyral template generator. Cyral uses these key values to access the Cyral control plane and Cyral container registry, respectively.
These values are private keys. Do not upload them to any source control repository or non-private storage location. Cyral recommends that you keep your access key and registry key values in secure storage and, each time you deploy, retrieve these values from your secure storage and restore the values manually in your template.
When restoring key values, double-check that these values match the current values for your environment. Incorrect values will prevent communication between the sidecar and the Cyral management console, and they may prevent the sidecar from being deployed.
Next step
Add a domain alias for the sidecar
Common template customizations
Snowflake deployment settings
In Snowflake deployments, the sidecar must have a TLS certificate that's validated for the domains where your Snowflake and sidecar instances run and also for the desired TLS ports defined at the load balancer. Provide the parameters to your deployment template, specifying the ARN (Amazon Resource Name) of the certificate as well as the sidecar and load balancer TLS ports.
Network access control to the sidecar instance
There are two ways to customize access control to a sidecar deployed with Terraform:
- (1) through the security group you deploy along with the sidecar or
- (2) by attaching other security groups directly to a sidecar instance in EC2.
To use option (1), you have a choice: limit access based on CIDR
addresses or limit access based on security groups. To limit based on
CIDR, use the parameters db_inbound_cidr and ssh_inbound_cidr. To
limit based on security groups, use the parameters
db_inbound_security_group and ssh_inbound_security_group to attach
existing security groups to the security group that will be created
and associated with the sidecar. Note that you must choose either CIDRs
or security groups to limit access; you can’t combine them.
To use option (2), you can associate existing security groups directly
with an EC2 instance through the parameter additional_security_groups.
Option (1) allows you to define access controls on the sidecar that will be restricted to those database or SSH ports allowed to connect to the sidecar. Option (2) is less restrictive and allows you to control all ports that offer access to the sidecar, as these will be defined by the existing security groups attached directly to the sidecar instance.
Cyral AWS sample policy elements for Terraform deployment
To deploy a Cyral sidecar using Terraform, you must have the AWS permissions listed below. See the earlier section, Provide AWS permissions for sidecar deployment, for instructions.
The permissions are expressed here in the AWS IAM JSON policy format. For details on this format, see the AWS policy elements reference.
Simplified Policy
{
    "Version": "2012-10-17",
    "Statement": [
        {
            "Effect": "Allow",
            "Action": [
                "autoscaling:*",
                "ec2:*",
                "elasticloadbalancing:*",
                "logs:*",
                "secretsmanager:*",
                "sts:GetCallerIdentity"
            ],
            "Resource": "*"
        },
        {
            "Effect": "Allow",
            "Action": "iam:*",
            "Resource": [
                "arn:aws:iam::${ACCOUNT_NUMBER}:role/*",
                "arn:aws:iam::${ACCOUNT_NUMBER}:policy/*",
                "arn:aws:iam::${ACCOUNT_NUMBER}:instance-profile/*"
            ]
        }
    ]
}
Granular Policy
{
    "Version": "2012-10-17",
    "Statement": [
        {
            "Effect": "Allow",
            "Action": [
                "autoscaling:CreateAutoScalingGroup",
                "autoscaling:CreateLaunchConfiguration",
                "autoscaling:DeleteAutoScalingGroup",
                "autoscaling:DeleteLaunchConfiguration",
                "autoscaling:Describe*",
                "autoscaling:PutLifecycleHook",
                "autoscaling:UpdateAutoScalingGroup",
                "ec2:AuthorizeSecurityGroupEgress",
                "ec2:AuthorizeSecurityGroupIngress",
                "ec2:CreateSecurityGroup",
                "ec2:DeleteSecurityGroup",
                "ec2:Describe*",
                "ec2:RevokeSecurityGroupEgress",
                "elasticloadbalancing:CreateListener",
                "elasticloadbalancing:CreateLoadBalancer",
                "elasticloadbalancing:CreateTargetGroup",
                "elasticloadbalancing:DeleteListener",
                "elasticloadbalancing:DeleteLoadBalancer",
                "elasticloadbalancing:DeleteTargetGroup",
                "elasticloadbalancing:Describe*",
                "elasticloadbalancing:ModifyLoadBalancerAttributes",
                "elasticloadbalancing:ModifyTargetGroup",
                "elasticloadbalancing:ModifyTargetGroupAttributes",
                "iam:AddRoleToInstanceProfile",
                "iam:AttachRolePolicy",
                "iam:CreateInstanceProfile",
                "iam:CreatePolicy",
                "iam:CreateRole",
                "iam:DeleteInstanceProfile",
                "iam:DeletePolicy",
                "iam:DeleteRole",
                "iam:DetachRolePolicy",
                "iam:GetInstanceProfile",
                "iam:GetPolicy",
                "iam:GetPolicyVersion",
                "iam:GetRole",
                "iam:ListAttachedRolePolicies",
                "iam:ListInstanceProfilesForRole",
                "iam:ListPolicyVersions",
                "iam:PassRole",
                "iam:RemoveRoleFromInstanceProfile",
                "logs:CreateLogGroup",
                "logs:DeleteLogGroup",
                "logs:DescribeLogGroups",
                "logs:ListTagsLogGroup",
                "logs:PutRetentionPolicy",
                "secretsmanager:CreateSecret",
                "secretsmanager:DeleteSecret",
                "secretsmanager:Describe*",
                "secretsmanager:GetResourcePolicy",
                "secretsmanager:GetSecretValue",
                "secretsmanager:Put*",
                "secretsmanager:UpdateSecret",
                "sts:GetCallerIdentity"
            ],
            "Resource": "*"
        }
    ]
}